I will show you how I create a cartridge with a 1 eprom PCB, you may achieve this differently but this is how I do step by step. You should be able to put in any rom or homebrew except the ones made for skunkboard.
This is better than a cartmod as it only uses new parts and does not require destroying a real cartridge.
Note that the TL866 I use can also program and erase the 93C46 memory chip so that you can for example load a save from an emulator to keep your progress.
Table of Contents
What you need
The parts
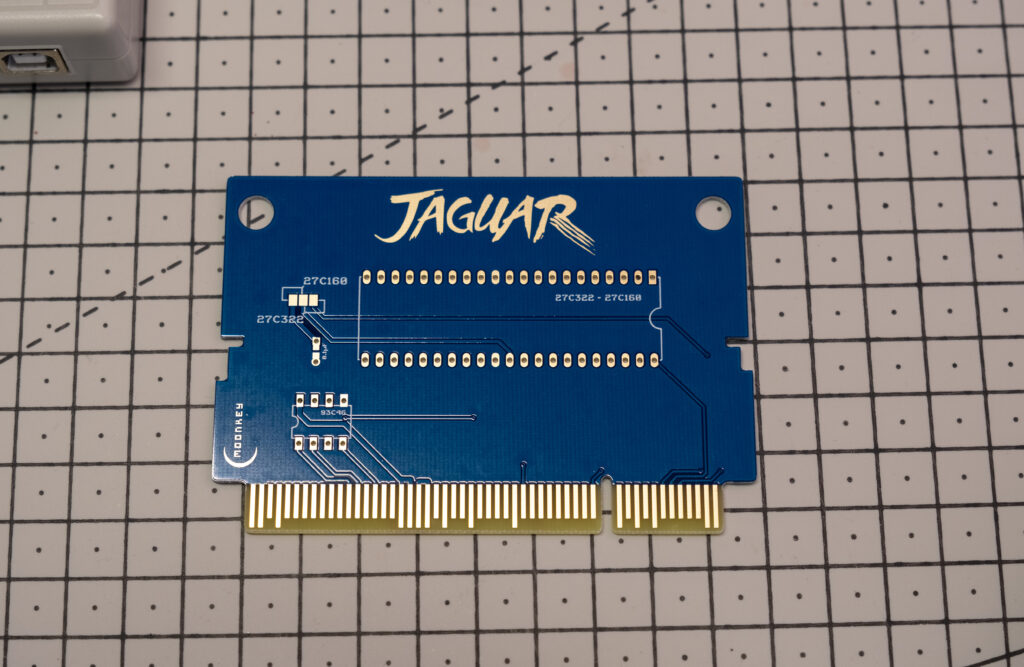
- The PCB
- I use here the 1 eprom PCB that I sell on my Etsy shop
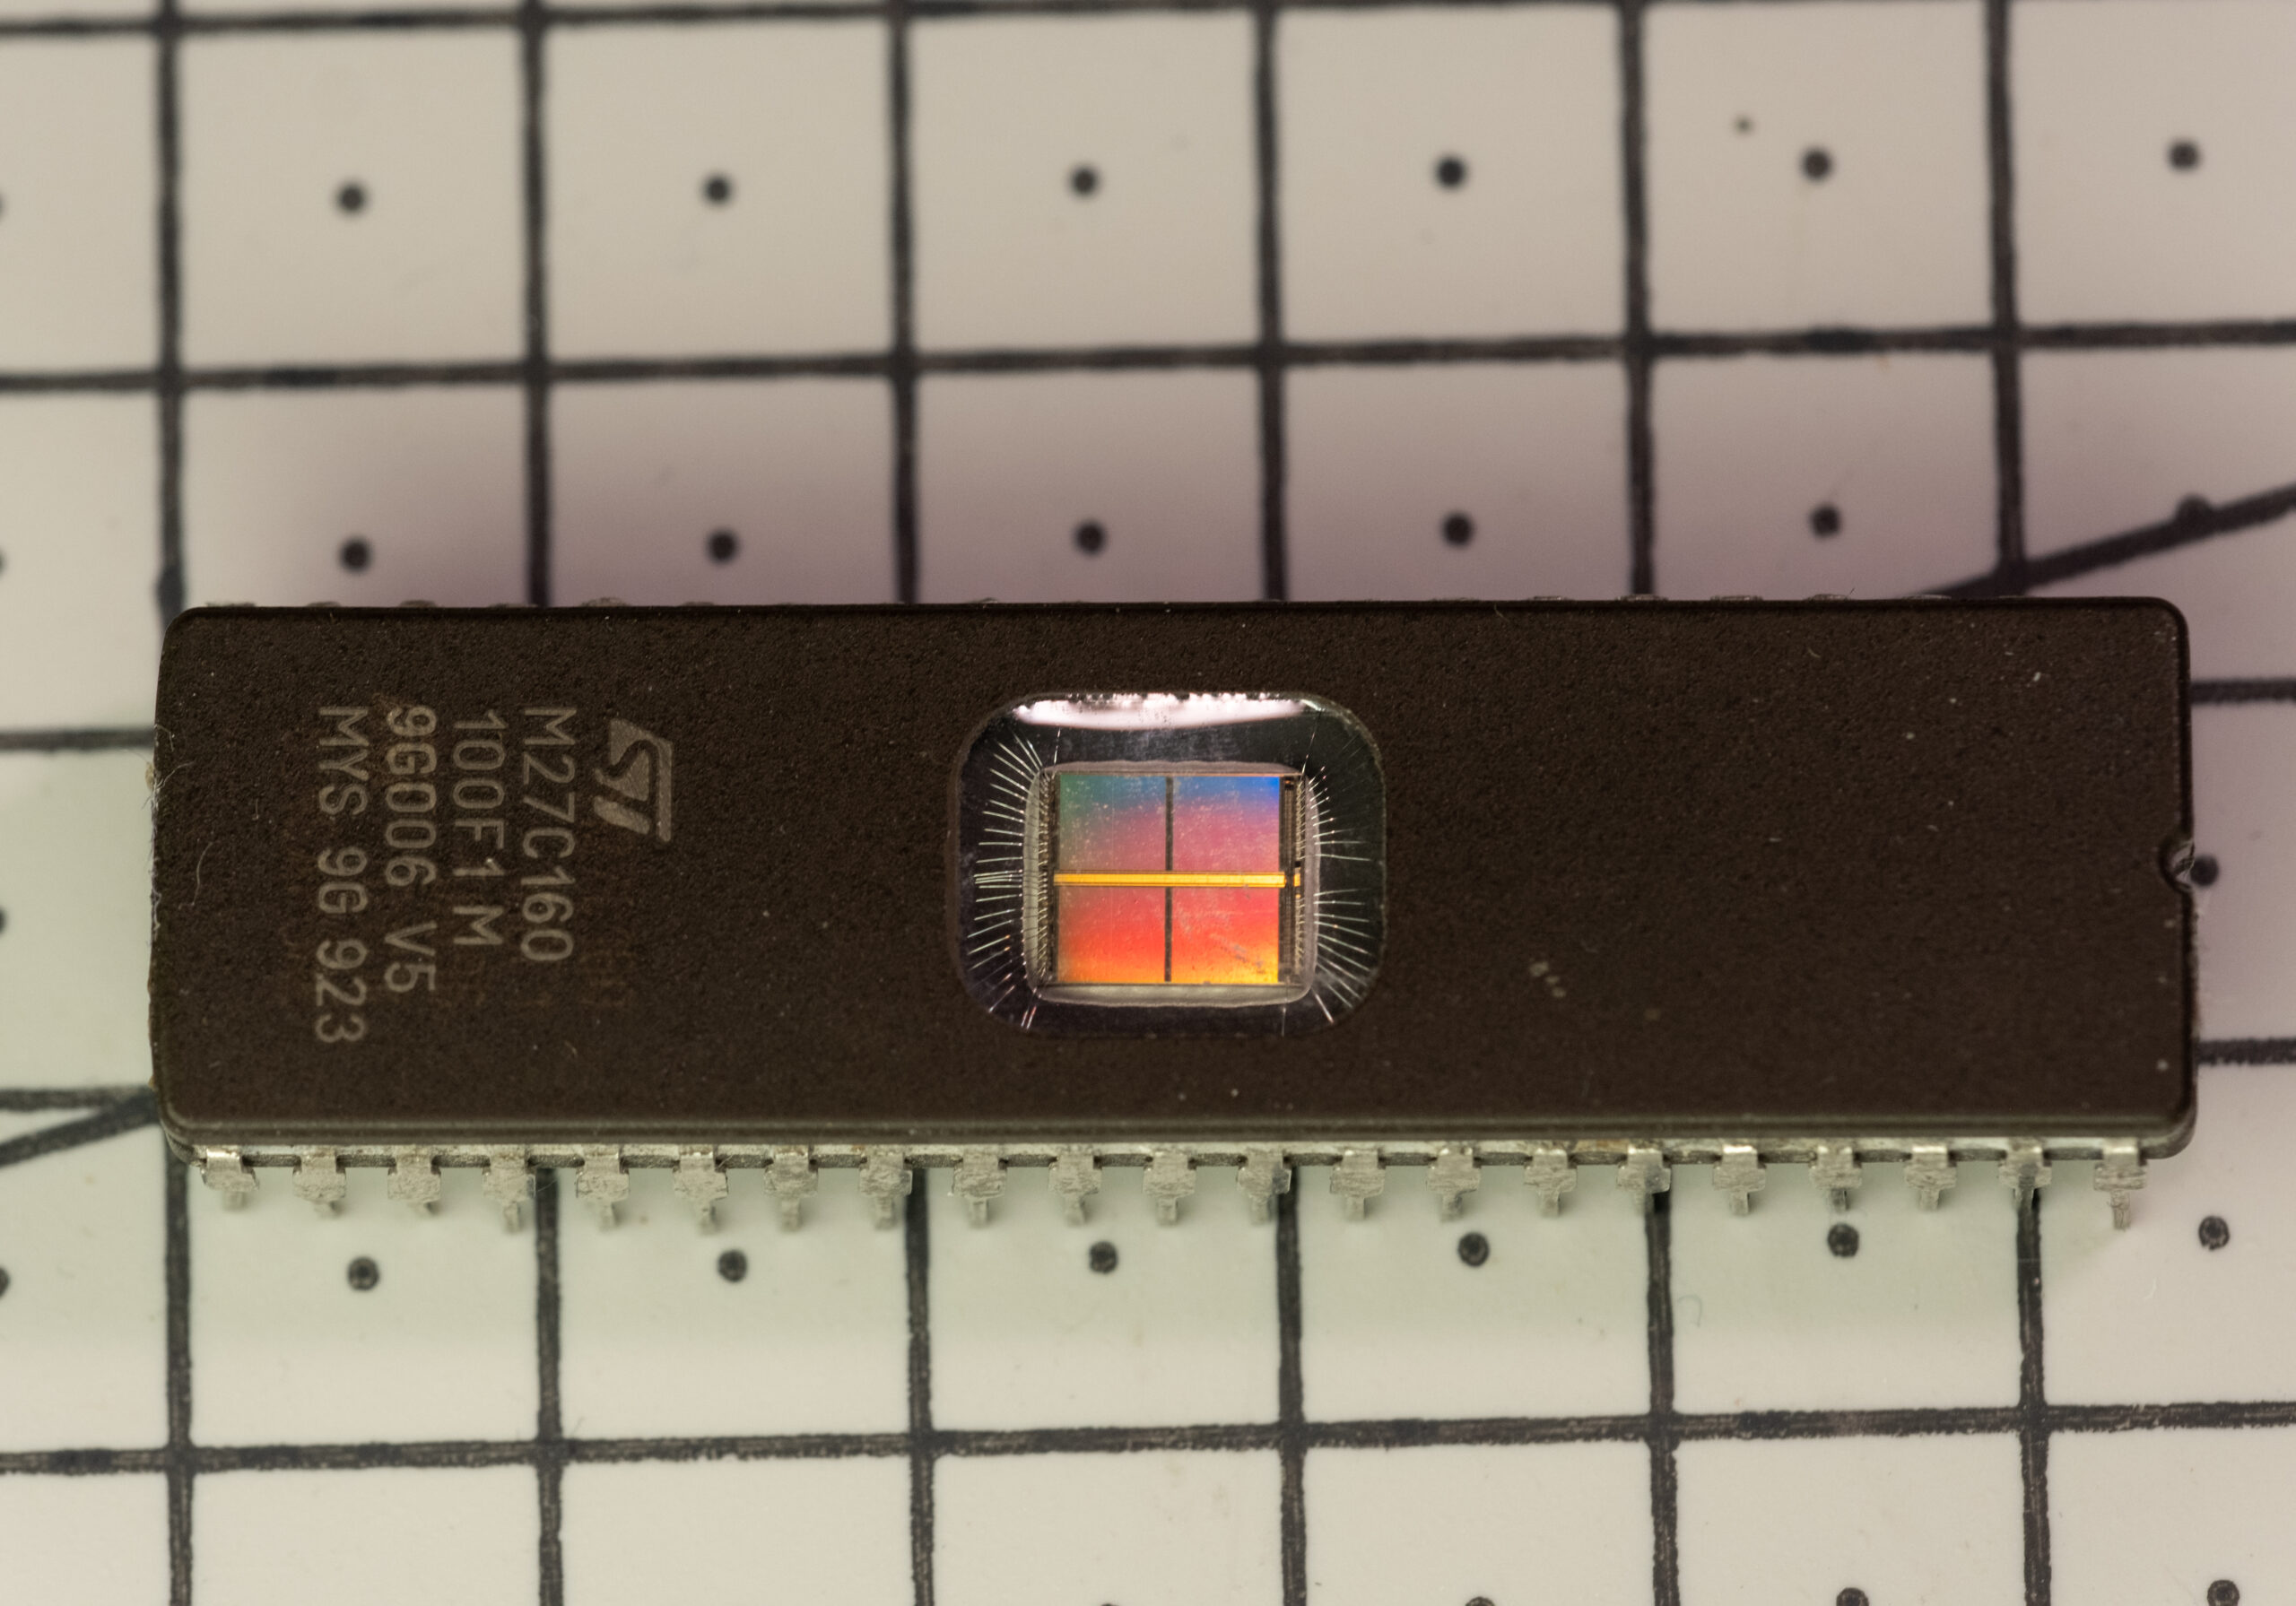
- 1x 27C322 or 27C160 eprom
- 27c160 can be used only if your game is 2MB or less, you can found these eproms on ebay or aliexpress
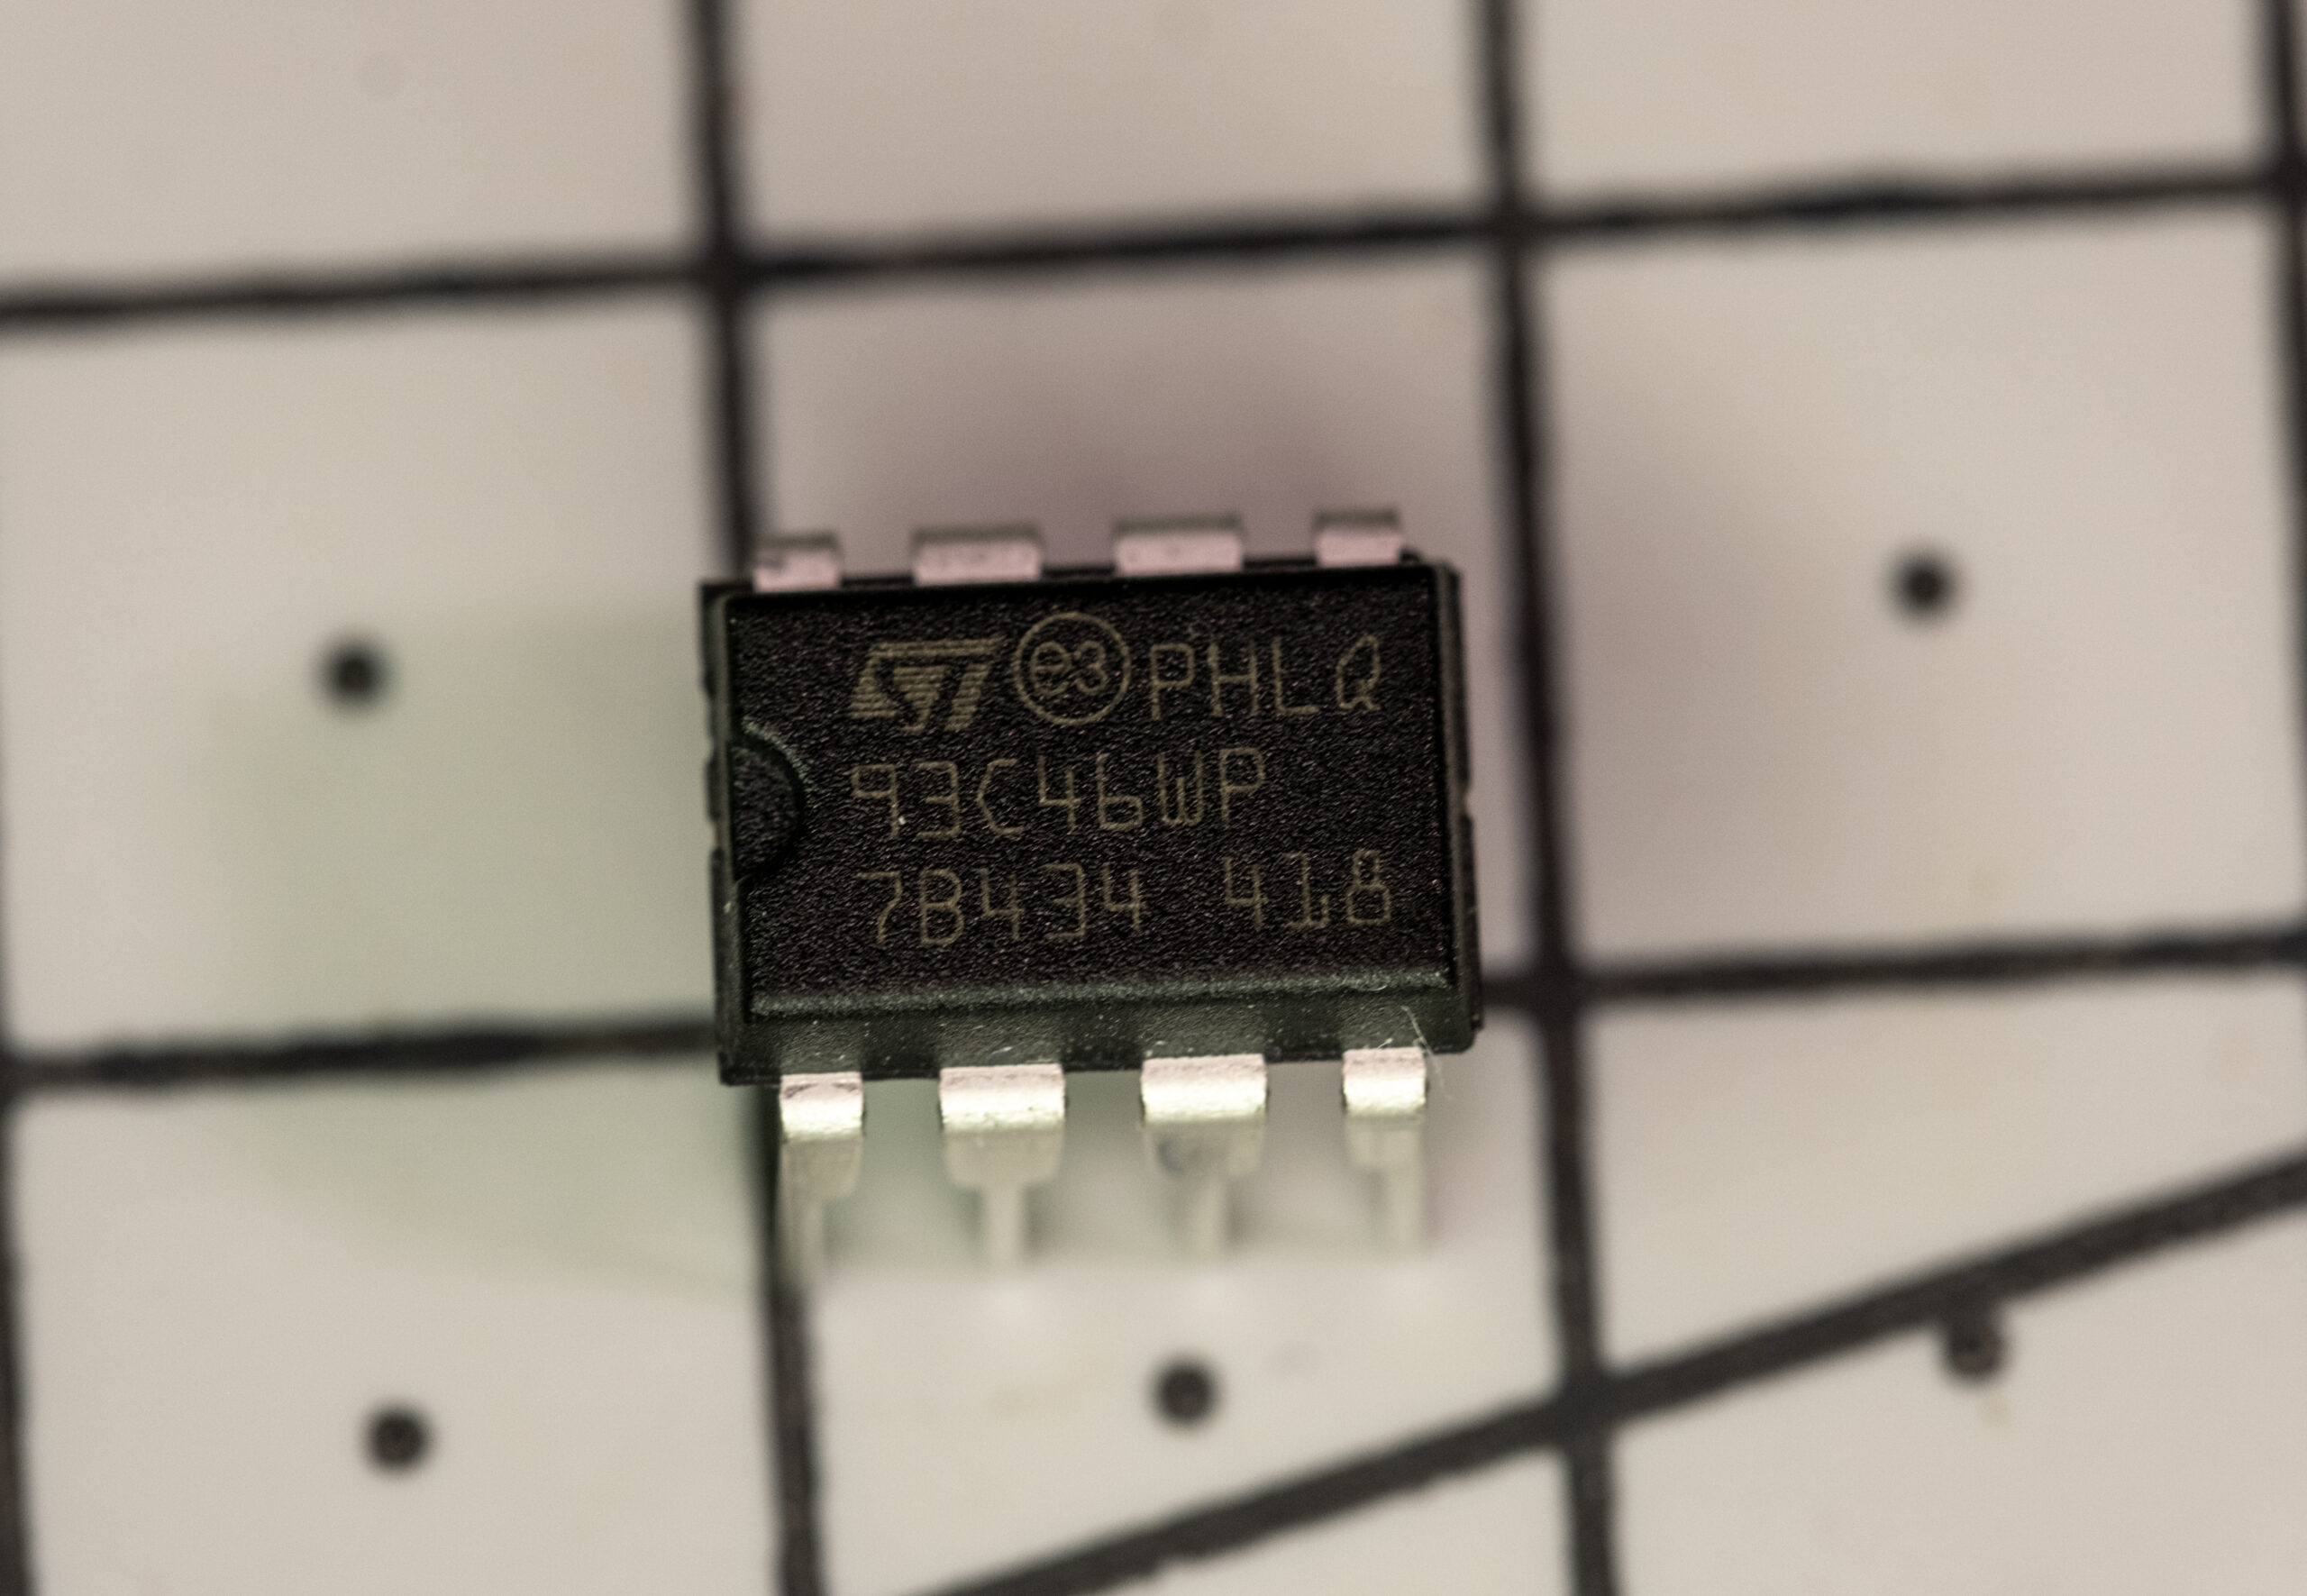
- 1x 93C46 DIP8 eeprom
- this memory allows the game to save, you can found this eeprom on ebay, aliexpress, lcsc, mouser…
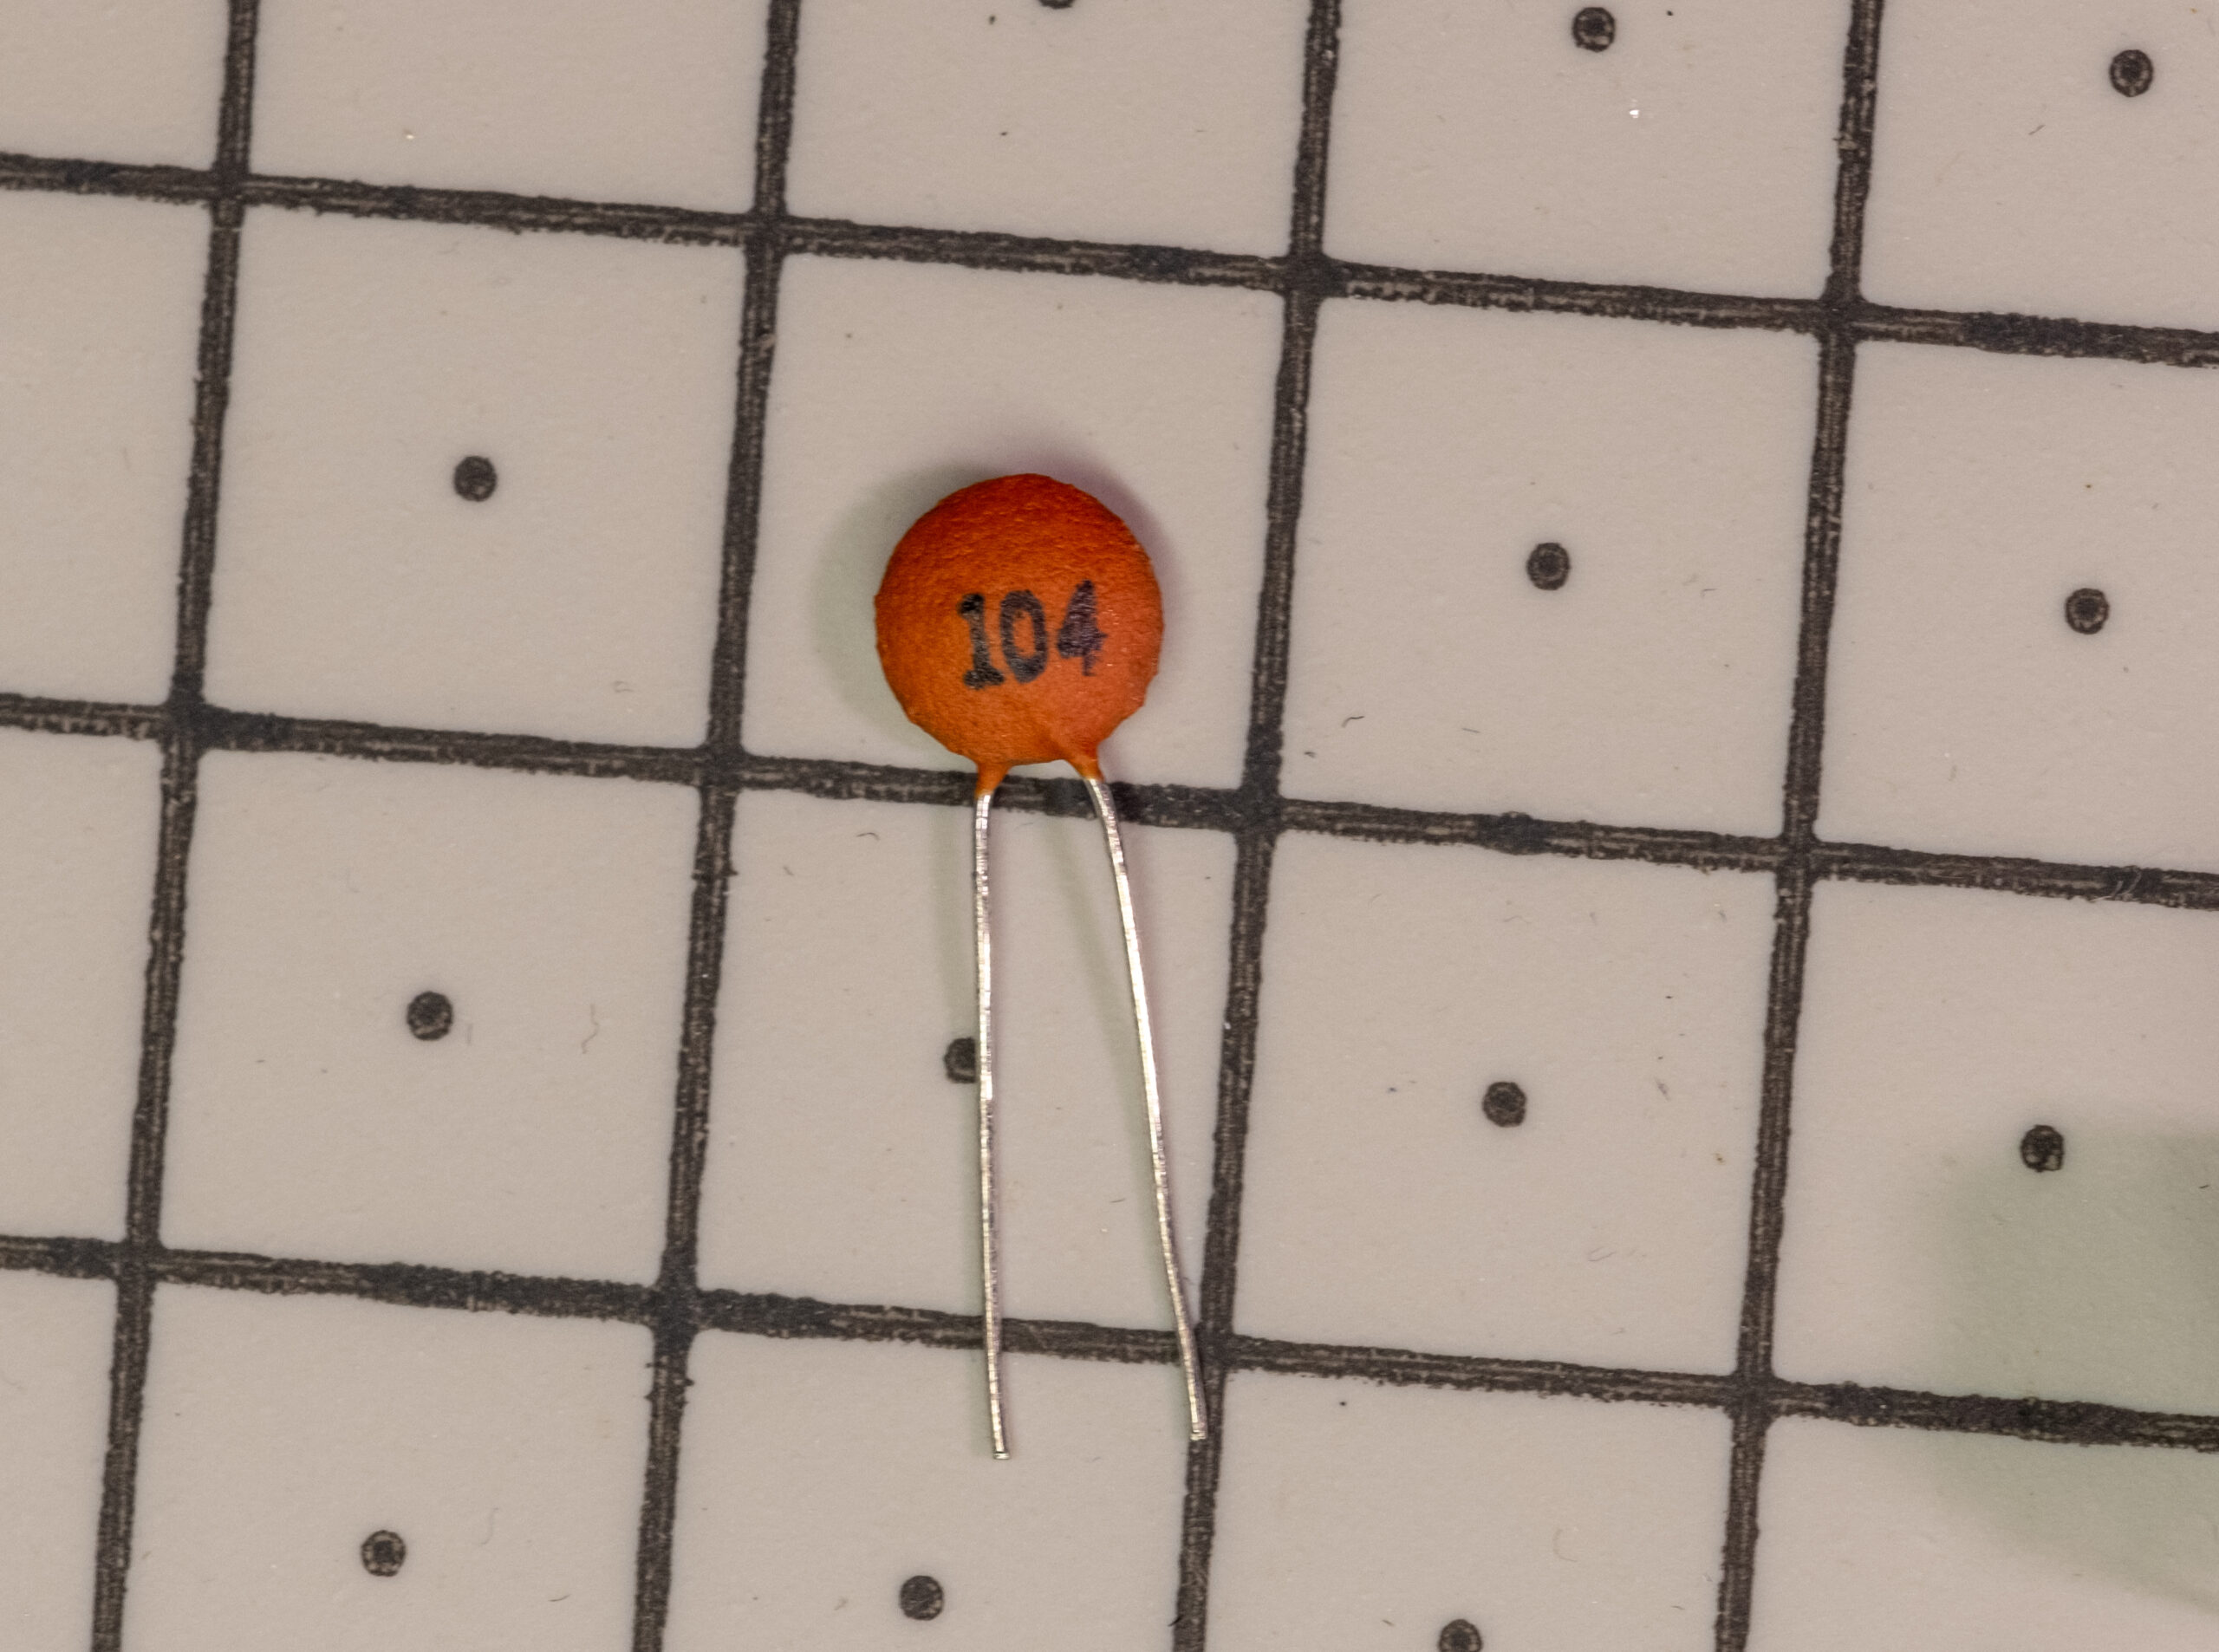
- 1x ceramic capacitor 0.1µf
- really easy to find this in any electronic store
The equipment
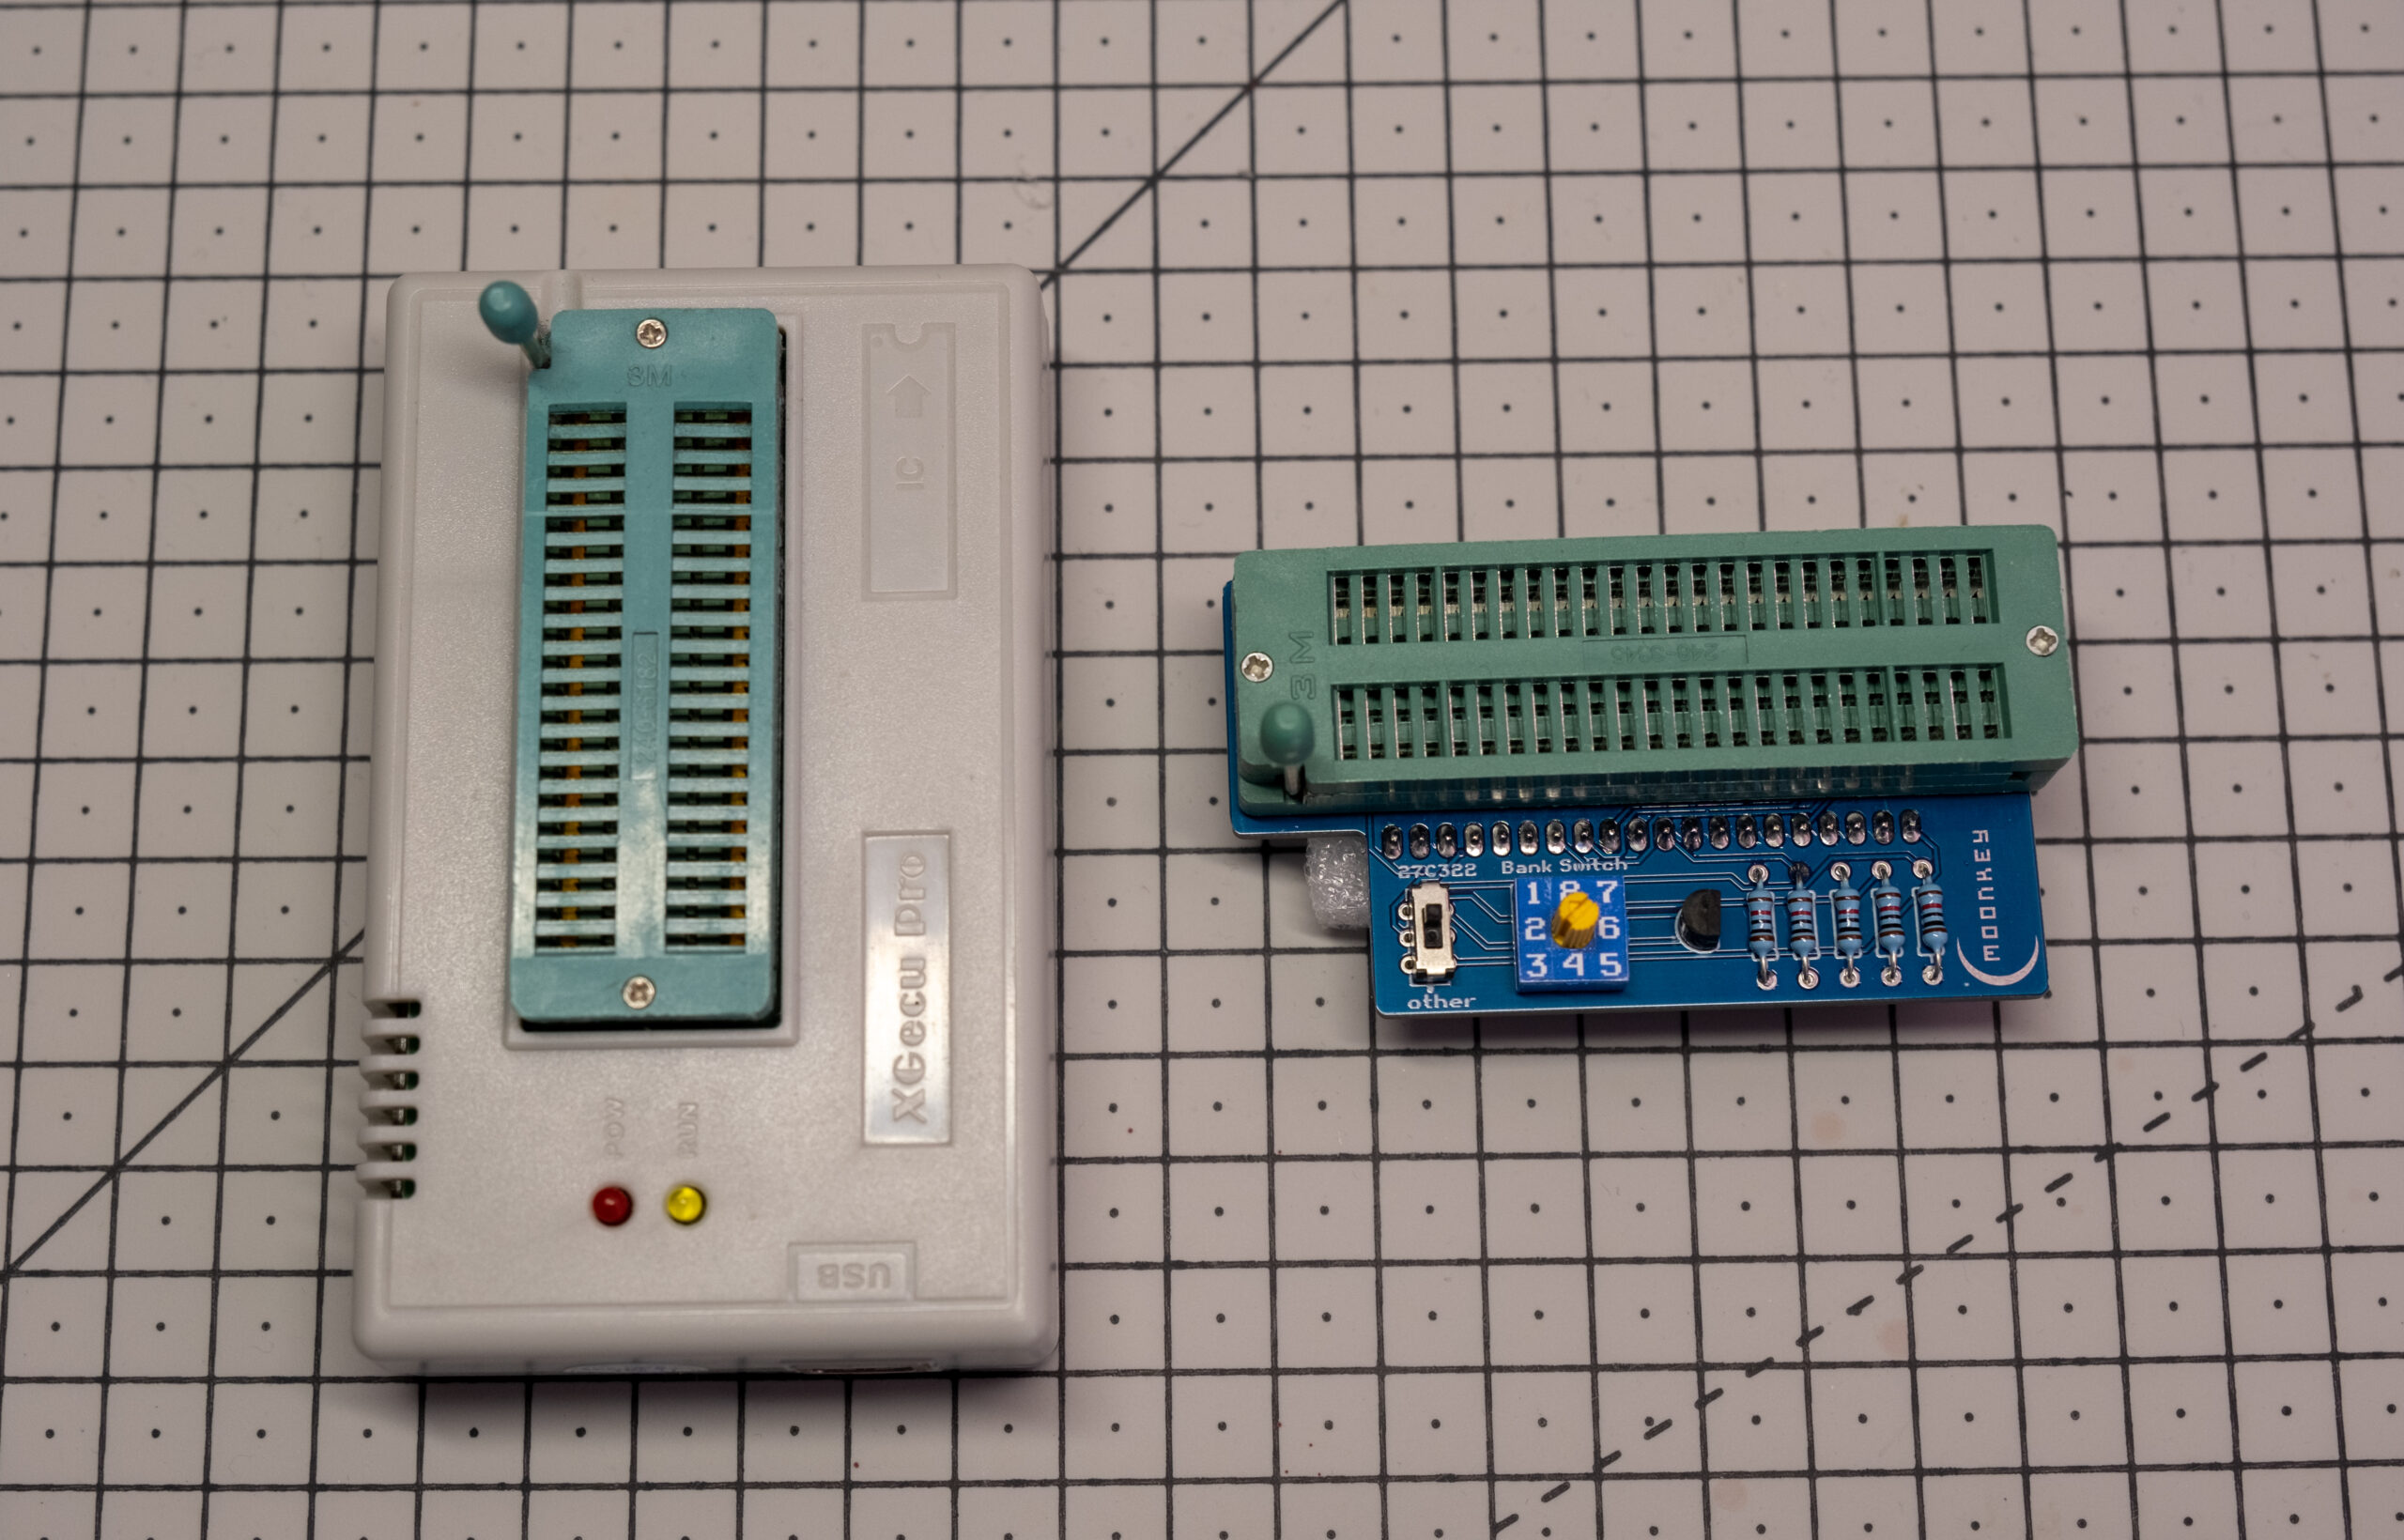
- A programmer (and its adapter)
- I personnally use a TL866II PLUS Programmer and a 16bits adapter but it seems that the TL866 has an updated version, the XGecu T48 and it should work the same way although I have not tested it. I sell an adapter on etsy but you can found some on ebay
- Soldering equipment
- soldering iron, tin etc..

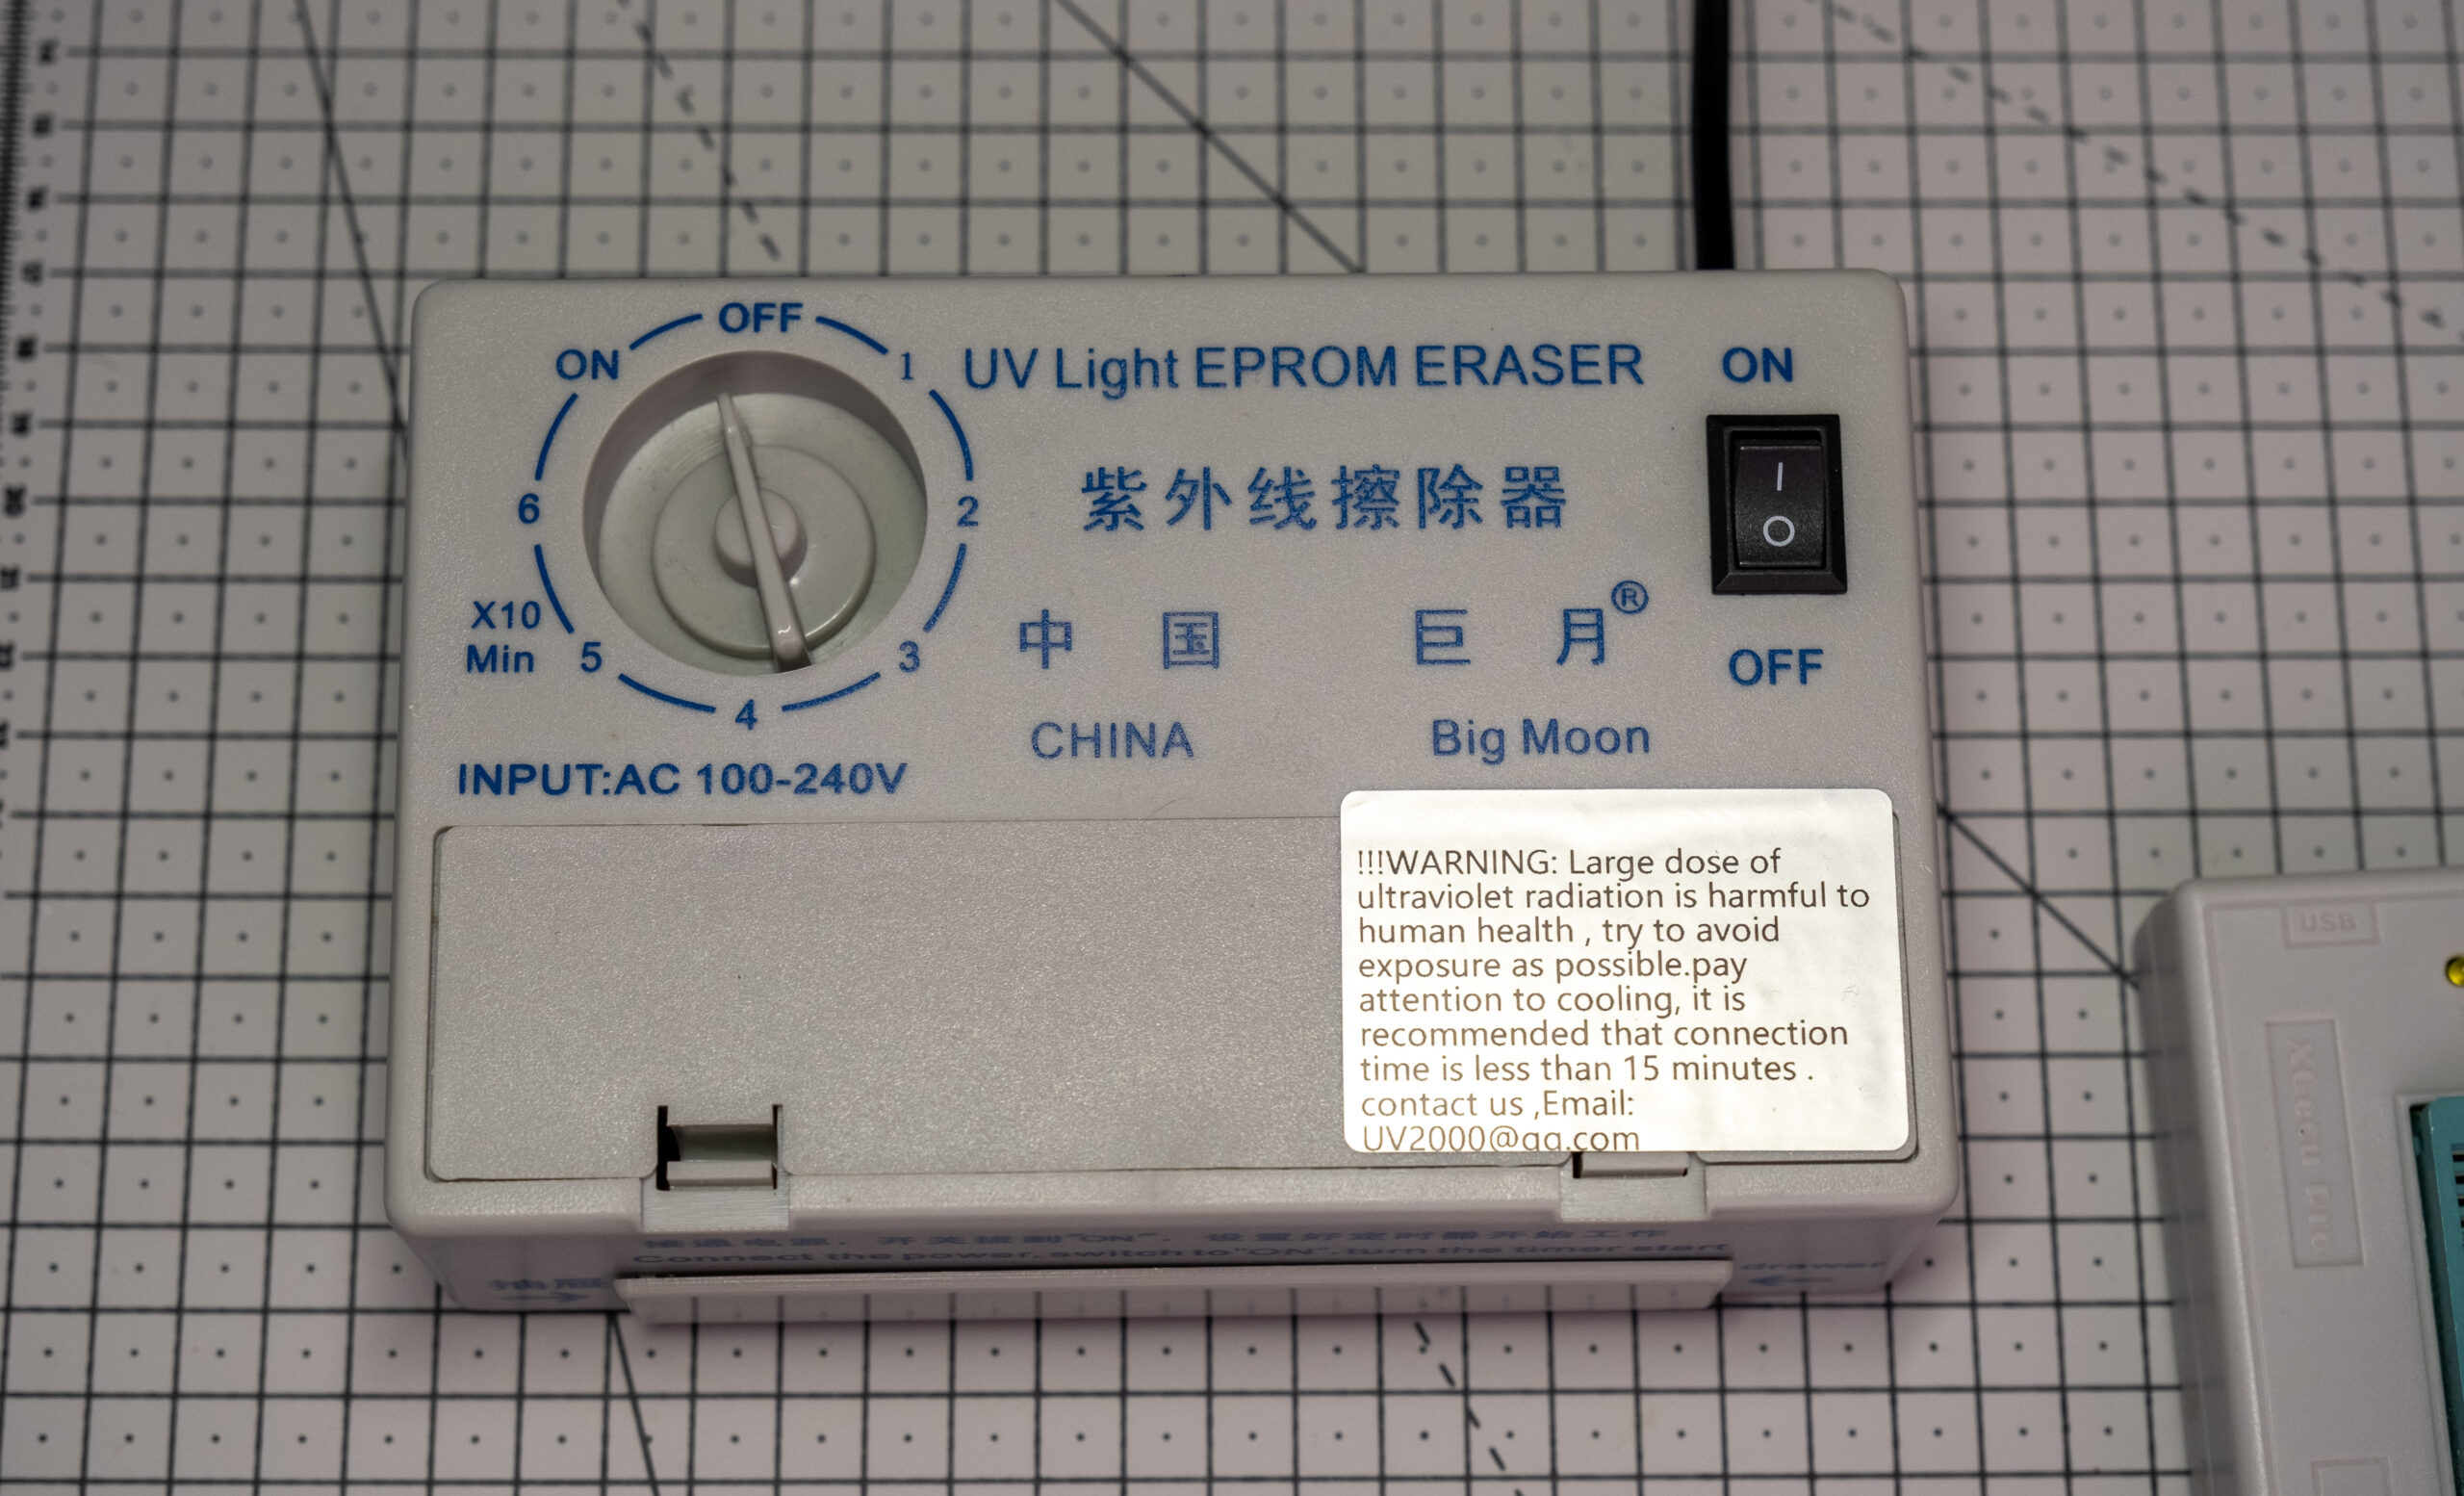
- UV Eprom Eraser
- not striclty required but quite essential when your purchased eproms are not completely blanks or in case of error in programming
1 – Prepare the rom
I’m not sure it’s legal to tell you where to find roms so I’ll let you figure it out
So I have downloaded one, which gives me a 2MB .j64 file.
I like to use a tool named makefastboot made by Tursilion :
https://github.com/tursilion/makefastboot
This program will make the boot faster, fix the checksum and perform a byteswap.
So download it from here and unzip it : https://github.com/tursilion/makefastboot/raw/main/dist/makefastboot.zip
All you have to do now is drag and drop the rom on makefastboot.exe
This opens a window with multiple choices, first chose 16-bit by typing 2 and press ENTER, then 5 clocks by typing 4, and finally type “Y” and press ENTER to output a swapped version
We have now a file named <name of the rom>_swapped.bin
Only one more step and we are good to go
We will now have to split the rom into 512kb pieces
Indeed the TL866II is not able to natively program our eproms but with the adapter it can do it by chunks of 512Kb
So I made a simple tool to do that, you can download it from here :
https://moonkey.games/downloads/512k_split.zip
Drag and drop your swapped file on the unzipped split.exe and it will output the 512Kb chunks
In my case, my rom was 2Mb, so I have 4 output files
That’s it, your files are ready!
Now it’s time for the programming
2 – Program the eprom
If you have not already done so, download and install the last version of the TL866 software (Xgpro) from here: http://www.xgecu.com/en/download.html
First select the right parameters in the Xgpro software
Click on the Select IC button on the top left corner and search for “27C4096” and select “AM27C4096 @DIP40”
Then in the options at the bottom, uncheck “Pin Detect” and “Check ID”
You can check “Blank Check” to verify that your eprom is fully blank before programing, if this is not the case, put it in the UV Eraser for 10min or use another eprom.
Finally in “IC Config Information” I use these settings :
Now we can load our first file, click on LOAD, browse to your *_swapped_Part_1.bin file and click OK
Put the adapter in the programmer and the eprom in the adapter then put the left switch on “27C322” or “other” depending of wich eprom you use and select the bank 1 with the rotary switch
 On my adapter, the eprom has to be on the left side but it can be different on other adapters
Click on the “PROG.” button and hit “Program”
Once it’s done, load the part 2, put the rotary switch on bank 2 and program again
And do that for every 512k parts you have
3 – Soldering
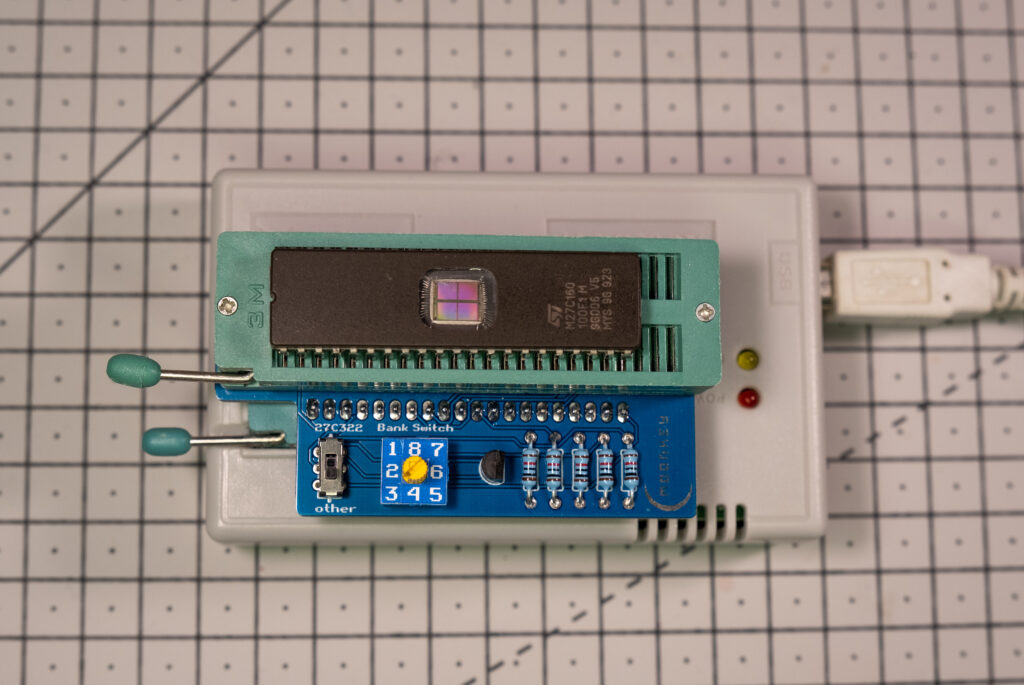
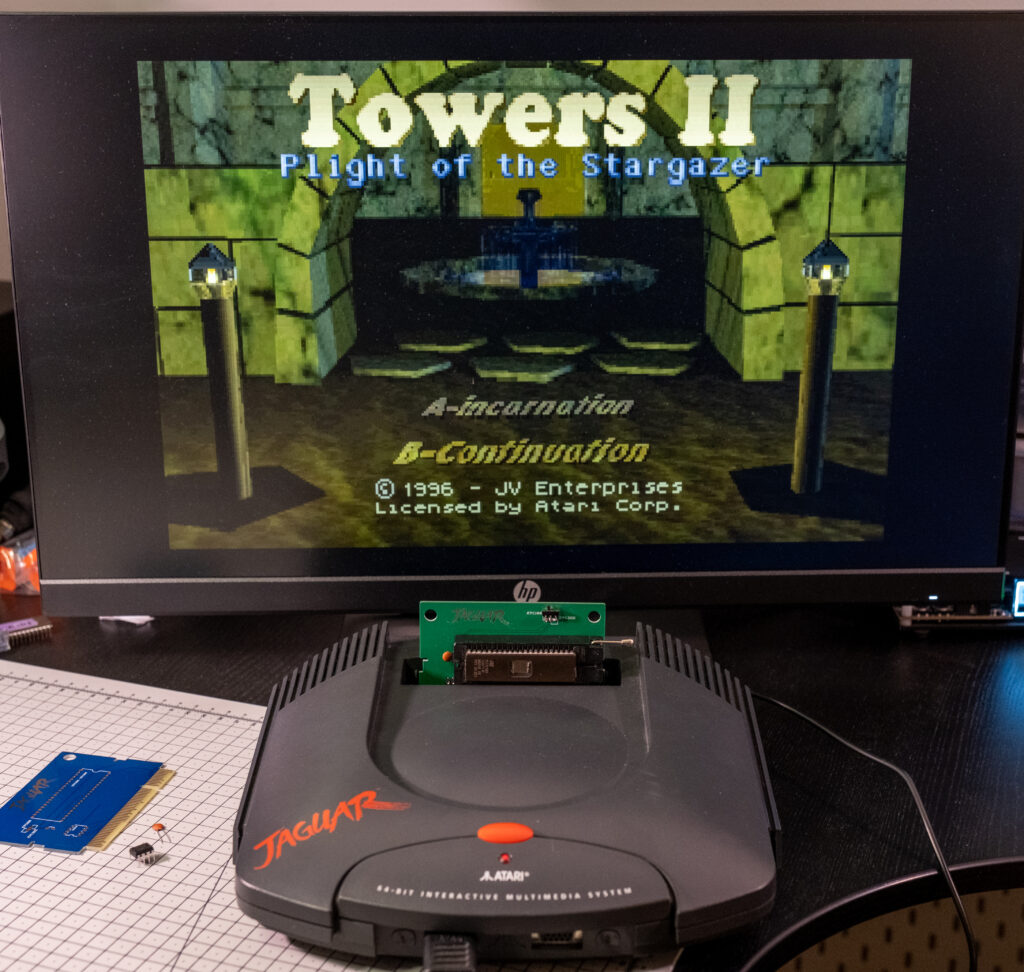
So now my eprom is burned but before soldering I will test it on a pcb with a socket just to be sure everything is ok.
Of course this step is optional but it can save a LOT of time in case something went wrong ( I hate desoldering )
 Everything looks fine
Now we know that the programming is good and we can solder everything, don’t forget the soldering point corresponding to your eprom.
Solder each component and take care to put the chips in the right direction, if you are not familiar with soldering don’t hesitate to watch videos on youtube and practice.
So that’s it, check if your game is working before put it in a shell, you will not be able to access the screws once the label is placed